Follow Me On Social Media!
Italian Easter Cookies: Easy Recipe for Sweet Family Joy
Introduction to Italian Easter Cookies: Delight in This Easy Recipe!
Embracing the delightful tradition of baking Italian Easter Cookies brings forth a sweet nostalgia that many of us cherish from childhood. Each year, when spring approaches, families gather in kitchens filled with the laughter of relatives and the aroma of butter and sugar wafting through the air. Making these cookies isn’t just about satisfying a craving; it’s about connecting with our roots, sharing stories, and creating memories that will last a lifetime.
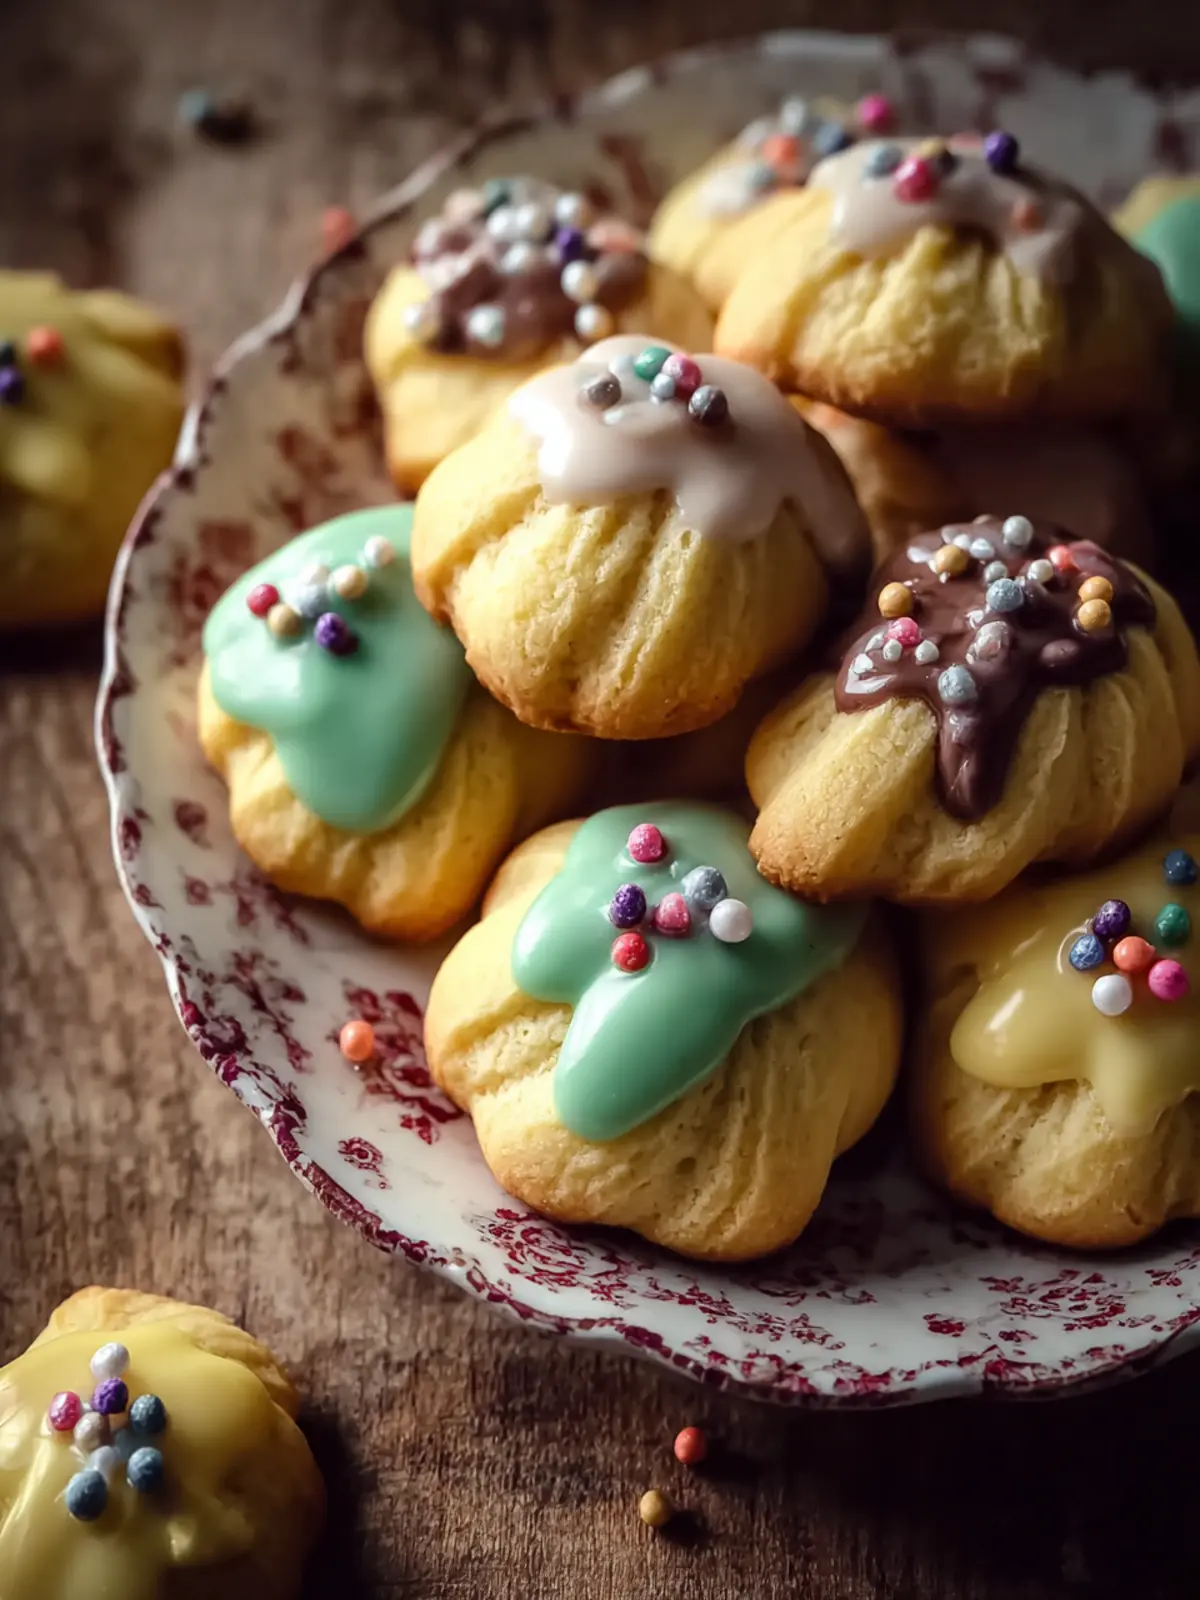
As we dive into the recipe, know that these Italian Easter Cookies are pillow-soft and essentially a canvas awaiting decorations of vibrant colors. Whether you’re a seasoned baker or a novice in the kitchen, you’ll find that this recipe is both approachable and rewarding. The beauty of these cookies lies in their simplicity and the joyful process of bringing them to life with your own unique touch.
The Sweet Nostalgia of Holiday Baking
Imagine the scene: children giggling as they sprinkle flour everywhere, grandmothers dusting icing sugar over beautifully frosted cookies, and parents sneaking bites when no one is looking. This is the essence of holiday baking—the act of preserving traditions while infusing a bit of your personality into every treat.
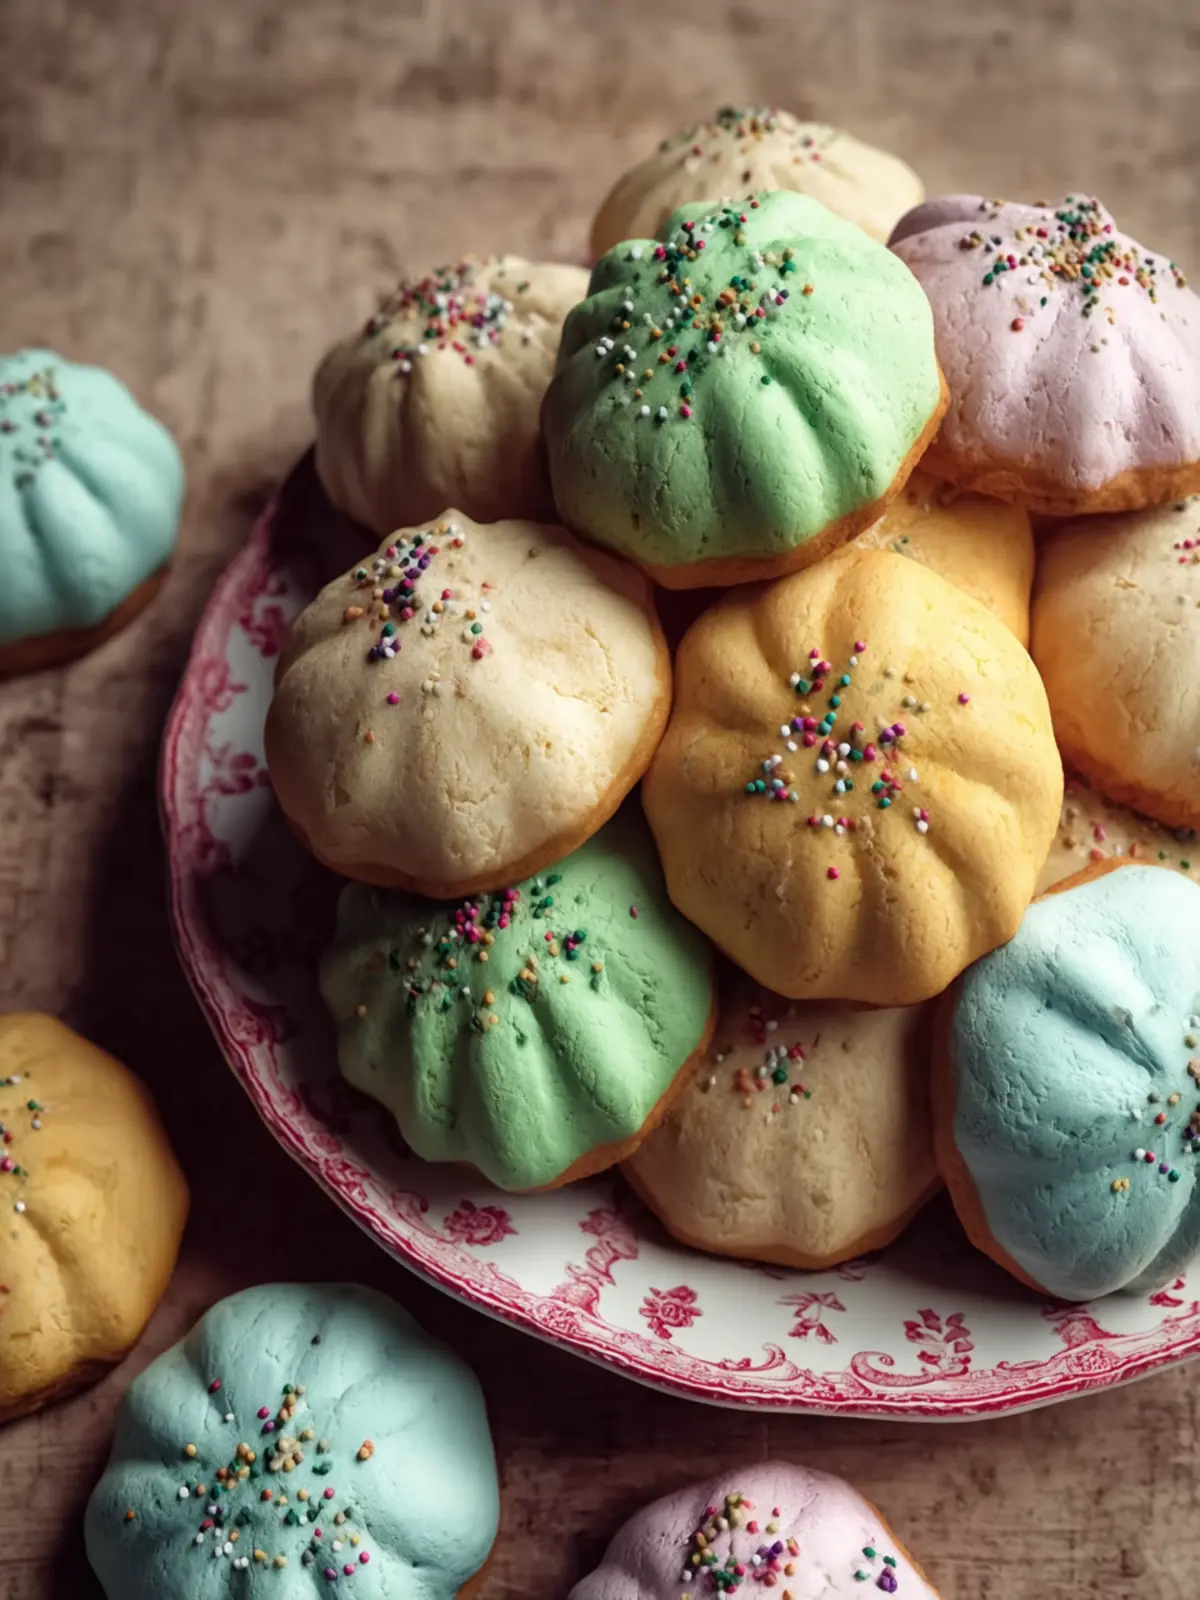
As you bake Italian Easter Cookies, consider the joy that these small, playful treats can bring. They’re perfect for sharing with loved ones, and they make any family gathering extra special. Plus, they can be easily customized with colored sprinkles or icing, appealing to every palate and preference.
Let’s gather our ingredients and bring the warmth of Italian Easter Cookies into our homes this season. Join me in this delightful journey as we create a treat that embodies the spirit of Easter and the joy of gathering together. It’s more than just a recipe; it’s a celebration of love, family, and sharing delightful moments.
Key Ingredients for Italian Easter Cookies
Creating delightful Italian Easter Cookies is all about selecting the right ingredients that bring each bite to life.
Flour
For the foundation of our cookies, all-purpose flour works best. Its texture provides the perfect balance between softness and structure, allowing the cookies to hold their shape during baking.
Sugar
I prefer using a combination of granulated sugar and powdered sugar. The granulated sugar contributes sweetness and stability, while the powdered sugar adds a velvety finish that melts in your mouth.
Eggs
Fresh eggs are essential for richness and moisture. They bind the ingredients together while helping the cookies rise beautifully. You’ll find that the yolks add color, enhancing the visual appeal of these festive treats.
Baking Powder
A touch of baking powder helps our cookies achieve a light, airy texture. It’s the secret weapon that ensures they don’t end up dense or heavy.
Flavoring
Vanilla extract is a must for deepening the flavor profile. Its aromatic notes complement the sweetness and create a comforting, nostalgic experience with every bite.
Decorative Touches
Finally, the colorful sprinkles or icing on top isn’t just eye candy; it brings a joyful festivity that celebrates Easter, making your Italian Easter Cookies a standout treat at any gathering.
Embrace these carefully chosen ingredients, and you’ll craft cookies that are as much a feast for the eyes as they are for the palate.
Why You’ll Love This Recipe
When it comes to Italian Easter Cookies, the joy of gathering with family and friends is made even sweeter with this effortless recipe. Whether you’re hosting a special celebration or simply looking to enjoy a delightful treat, these cookies bring a slice of tradition to your table. Picture this: a warm kitchen filled with the aroma of vanilla and citrus, as colorful sprinkles light up your cookie tray.
What sets these cookies apart is not only their inviting taste but also their simplicity. You’ll find the ingredients are likely already in your pantry, making them perfect for spontaneous baking sessions.
Here’s why you’ll adore making Italian Easter Cookies:
-
Versatility: You can easily customize them with your favorite flavors or toppings. Want a hint of almond? Go for it!
-
Cultural Tradition: These cookies carry the essence of Italian tradition, making them a wonderful way to celebrate Easter and create lasting memories with loved ones.
-
Perfect for Sharing: The vibrant colors and delightful flavors make them an eye-catching addition to any gathering. They are great for cookie swaps or as unique gifts.
So, roll up those sleeves and dive into this simple, scrumptious recipe—you won’t be disappointed!
Variations
When it comes to Italian Easter Cookies, the beauty lies in their versatility. While the traditional recipe is delightful on its own, experimenting with different flavors and add-ins can take these cookies to the next level.
Flavor Infusions
-
Almond Extract: For a nutty twist, swap out vanilla extract for almond extract. It adds a warm, comforting flavor that pairs wonderfully with the citrusy zest.
-
Lemon Zest: For a bright and zesty kick, incorporate some lemon zest into the dough. This gives your Italian Easter Cookies a refreshing twist, perfect for welcoming spring.
Decorative Touches
-
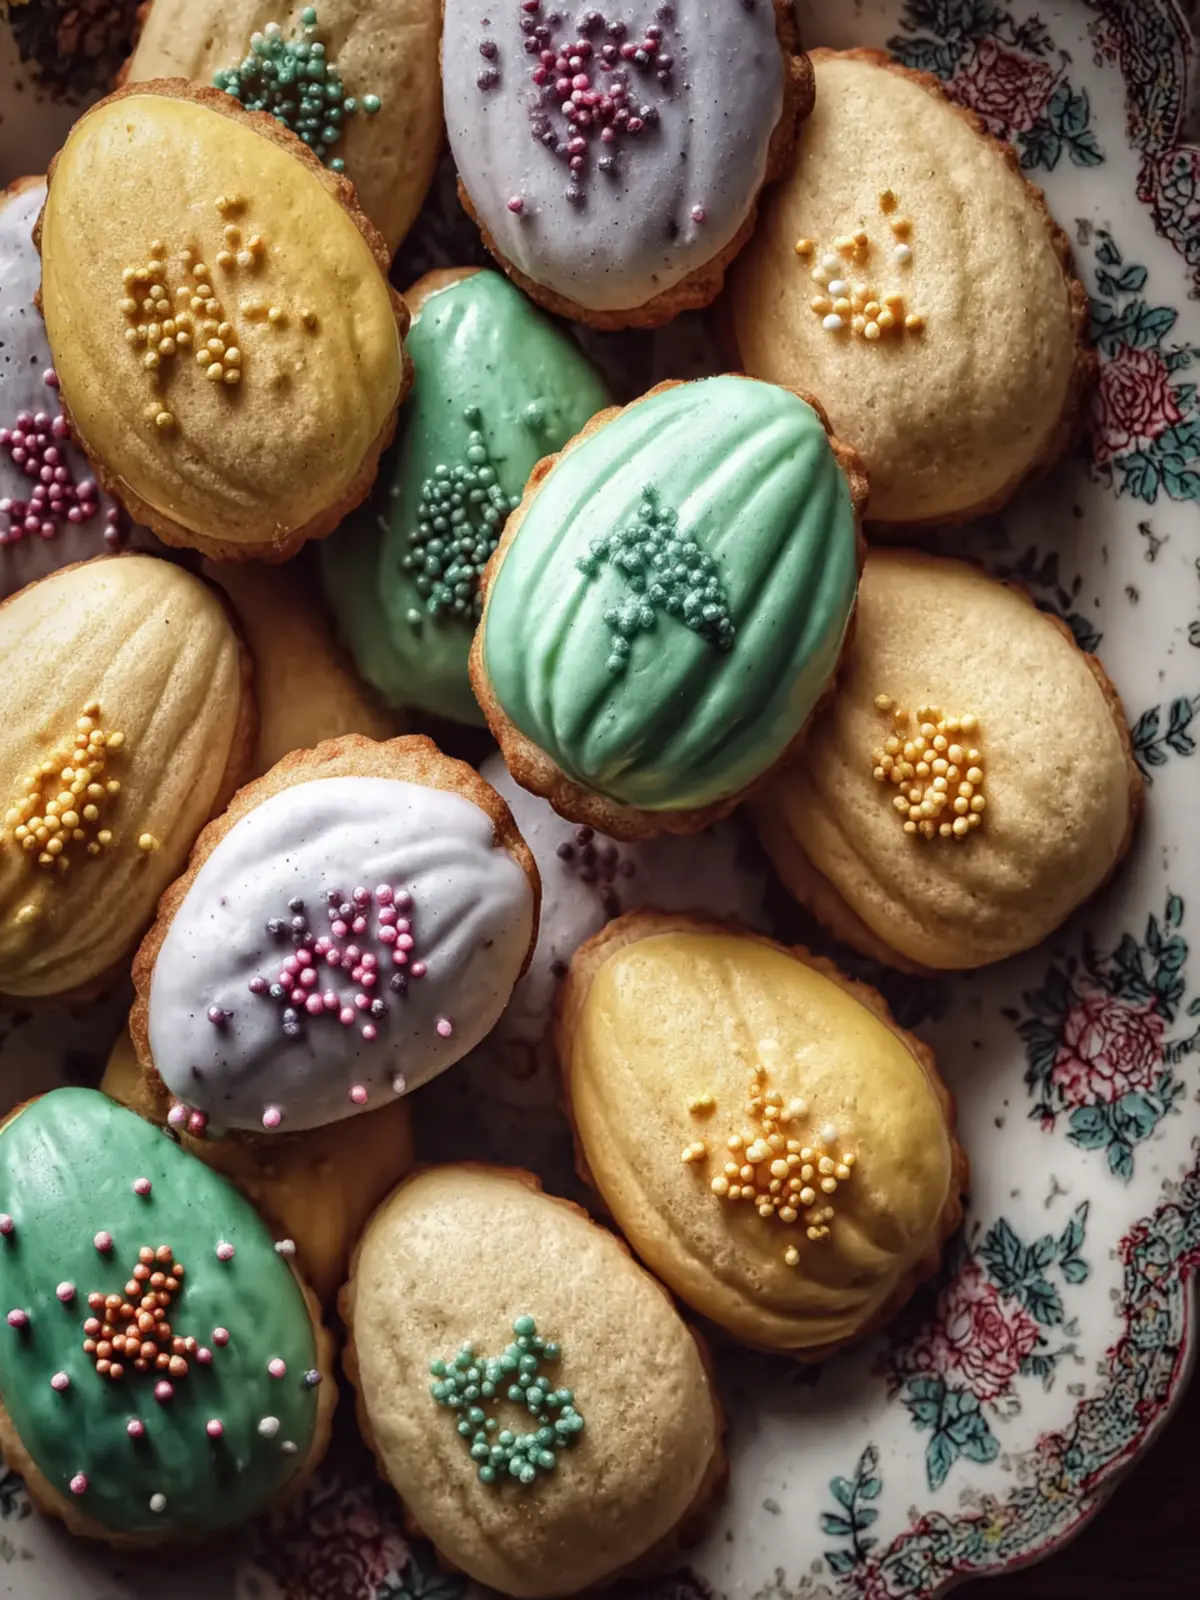
Frosting Variations: Instead of the classic icing, consider using royal icing or a simple glaze made with powdered sugar and milk. You can also tint the icing with food coloring to create vibrant designs.
-
Toppings: Top your cookies with sprinkles, chopped nuts, or even dried fruits for added texture and flavor. These little touches not only elevate the taste but also make your cookies visually appealing.
Dietary Considerations
- Gluten-Free Options: If you’re catering to a gluten-free crowd, feel free to substitute the all-purpose flour with a gluten-free blend, ensuring that the cookies maintain delicious flavor and texture.
Celebrate with Tradition
You can also personalize your Italian Easter Cookies by adding traditional symbols, such as colored eggs or using cookie cutters shaped like bunnies and flowers, making them perfect for an Easter celebration. Enjoy innovating while preserving the essence of this cherished treat!
Cooking Tips and Notes
Making Italian Easter Cookies not only fills your home with delightful aromas but also creates lasting memories, much like those cherished family gatherings around the table. Here are some helpful tips to ensure your cookie-making experience is as smooth as possible!
Choosing the Right Flour
Opt for all-purpose flour, as it strikes the perfect balance between structure and tenderness. For a gluten-free alternative, look for a 1:1 gluten-free flour blend.
Perfecting the Dough
When mixing your dough, avoid overworking it. Gently combine until just mixed to ensure your cookies remain soft and delightful. Remember, the dough should be slightly sticky – this helps achieve that delicious texture we all love.
Decorating with Ease
For a bright finish, use vibrant-colored icing. If you don’t have piping bags, a resealable plastic bag with a snipped corner works just as well. Consider adding edible glitter for a festive touch that mirrors the celebration of Easter.
Baking Time
Keep an eye on your cookies while they bake; slight variations in oven temperature can affect the outcome. Bake until they’re just lightly golden around the edges to keep them soft in the middle.
Storing Your Cookies
To keep your Italian Easter Cookies fresh longer, store them in an airtight container at room temperature. For extended enjoyment, consider freezing them; just make sure to separate layers with parchment paper to prevent sticking.
With these tips, your Italian Easter Cookies will surely bring joy to your celebration!
Serving Suggestions
Pair with Beverages
The joy of Italian Easter Cookies doesn’t have to stand alone. Consider pairing them with a glass of freshly brewed espresso for a delightful contrast of flavors. Alternatively, a sweet dessert wine, like Vin Santo, can beautifully complement the sugary glaze and subtle anise flavors in these cookies. Hosting a brunch? They also work wonderfully alongside mimosas for that festive touch.
Add a Touch of Decor
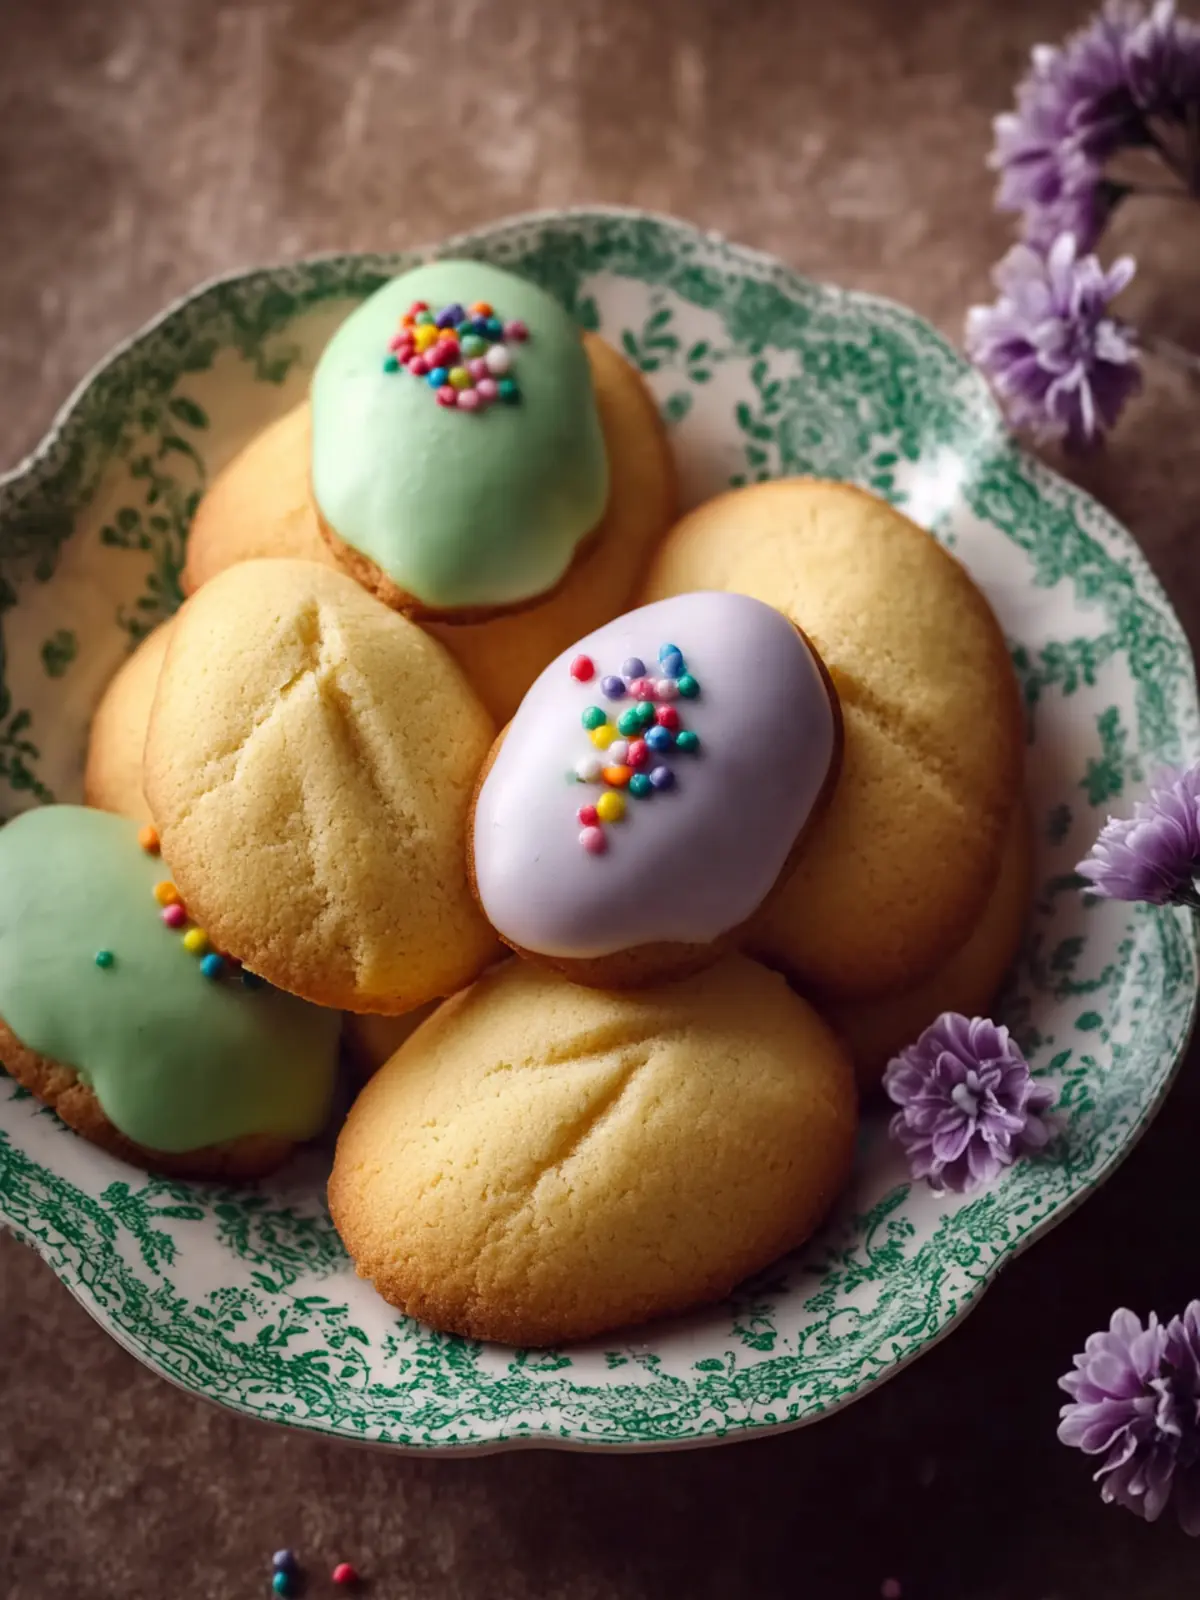
Presentation can elevate your Italian Easter Cookies from simple treats to eye-catching delights. Arrange them on a decorative platter and sprinkle some pastel-colored edible glitter or confetti. Adding fresh flowers or vibrant fruits like strawberries or oranges around the cookies can enhance their visual appeal.
Mix Up the Flavors
Feeling adventurous? Don’t hesitate to customize your Italian Easter Cookies! Try adding different flavored glazes, such as lemon or almond, or even incorporate pecans or hazelnuts in the dough for added texture and taste. This will give you a unique twist while still honoring the classic feel.
Festive Packaging
If you’re sharing these delightful cookies, consider wrapping them in clear cellophane bags tied with colorful ribbons. Not only does this make for a delightful gift, but it also reflects the joy of the season, making your loved ones feel special.
With these suggestions, your Italian Easter Cookies will surely be the highlight of any gathering!
Time Breakdown
Making Italian Easter Cookies is a delightful process that doesn’t take too much of your precious time. Here’s how it breaks down:
Preparation time
Getting your ingredients prepped and ready is a quick joy! You’ll need about 15 minutes for mixing, shaping, and decorating those beautiful cookies.
Baking time
Pop those cookies in the oven for a short 10 to 12 minutes. You’ll be amazed at how quickly they transform into golden treats.
Total time
In just around 30 minutes, you can indulge in Italian Easter Cookies fresh from the oven. Perfect for a sweet treat on any festive occasion!
Nutritional Facts
Understanding the Nutritional Facts of your homemade Italian Easter Cookies can enhance your enjoyment and appreciation for this delightful treat. As you gather around with family and friends, it’s great to know what you’re indulging in!
Calories
Each cookie is approximately 120 calories. Enjoying a few won’t derail your day, especially if you keep your portion in check.
Protein
These cookies contain about 2 grams of protein each, thanks to the eggs and some flour, providing a tiny boost while satisfying your sweet tooth.
Sodium
With roughly 30 mg of sodium per cookie, these Italian Easter Cookies are relatively low in salt, making them a delightful treat without the worry of high sodium intake!
When celebrating, knowing the nutritional value of these cookies can add a layer of enjoyment to this festive occasion.
FAQs about Italian Easter Cookies
Italian Easter Cookies are not just delectable pastries; they’re a cherished tradition that brings family and friends together each spring. As you dive into making these delightful treats, you may find yourself with a few questions. Here are some frequently asked questions that can help you along the way.
Can I use different flavorings?
Absolutely! While the traditional recipe often emphasizes vanilla, almond extract or lemon zest can add a delightful twist to your Italian Easter Cookies. Feel free to experiment with flavorings that excite your palate. Just remember that a little goes a long way—start with a teaspoon and adjust to your taste.
How do I store leftover cookies?
To keep your Italian Easter Cookies fresh, store them in an airtight container at room temperature. They typically stay delicious for about a week. If you live in a particularly humid area, consider refrigerating them to maintain their texture. Just allow them to come to room temperature before serving; they’ll be just as delightful!
Can I make the dough ahead of time?
Yes! Preparing the dough ahead of time can save you a lot of stress on baking day. You can refrigerate it for up to 48 hours. Just make sure to wrap it tightly in plastic wrap to avoid any drying out. If you want to store it longer, you can freeze the dough for up to three months. Just thaw it in the fridge overnight when you’re ready to bake.
With these tips, you’re now ready to make the most out of your Italian Easter Cookies experience!
Conclusion on Italian Easter Cookies
In crafting Italian Easter Cookies, you’ve not only embarked on a delightful baking journey but also embraced a cherished tradition. These cookies, characterized by their vibrant colors and aromatic flavors, signify joy and renewal during the Easter season. Whether shared with family or savored alongside a warm cup of coffee, each bite encapsulates the spirit of togetherness. Remember, the secret to making these treats truly special lies in the quality of your ingredients and the love you put into each step. So go ahead, give this simple recipe a try, and watch as your home fills with the warmth and sweetness of Italian heritage.
Print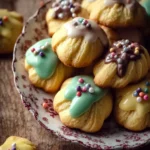
Lemon Cookies
- Total Time: 40 minutes
- Yield: 24 cookies 1x
- Diet: Vegetarian
Description
Delicious lemon cookies with a sweet icing, perfect for a treat or dessert.
Ingredients
Scale
- 2 cups all-purpose flour
- 1 cup granulated sugar
- 1/4 cup unsalted butter, softened
- 2 large eggs
- 1 tablespoon lemon zest (use fresh lemons for best flavor)
- 2 teaspoons baking powder
- 1/2 teaspoon vanilla extract
- 1/2 cup powdered sugar (additional water or lemon juice for mixing)
- Food coloring (optional, for decoration)
Instructions
- Preheat your oven to 350°F (175°C) and line a baking sheet with parchment paper.
- In a large mixing bowl, cream together the softened butter and granulated sugar until light and fluffy.
- Add the eggs one at a time, mixing well after each addition. Stir in the lemon zest and vanilla extract.
- In a separate bowl, combine the all-purpose flour and baking powder. Gradually add the dry mixture to the wet ingredients, mixing until a soft dough forms.
- Using your hands, form the dough into small balls and place them onto the baking sheet about 2 inches apart.
- Bake in the preheated oven for 12–15 minutes, or until the edges are golden brown.
- Allow them to cool on the baking sheet for a few minutes before transferring them to a wire rack.
- While the cookies are cooling, in a small bowl, combine the powdered sugar with a little water or lemon juice to create a smooth icing.
- If you like, add food coloring to create fun designs!
- Once the cookies are cooled, drizzle or spread the icing on top and let it set before serving.
Notes
- For best flavor, use fresh lemons for lemon zest.
- Store cookies in an airtight container to maintain freshness.
- Prep Time: 25 minutes
- Cook Time: 15 minutes
- Category: Dessert
- Method: Baking
- Cuisine: American
Nutrition
- Serving Size: 1 cookie
- Calories: 120
- Sugar: 10g
- Sodium: 50mg
- Fat: 5g
- Saturated Fat: 3g
- Unsaturated Fat: 2g
- Trans Fat: 0g
- Carbohydrates: 18g
- Fiber: 0g
- Protein: 2g
- Cholesterol: 30mg