Follow Me On Social Media!

High Altitude Chocolate Hostess Sheet Cake: Irresistibly Moist Delights
Introduction to High Altitude Chocolate Hostess Sheet Cake
Imagine biting into a High Altitude Chocolate Hostess Sheet Cake that’s not just a dessert, but an adventure for your taste buds. High altitude baking often feels like a secret art, where knowing how to adjust your ingredients can make all the difference. This cake is no exception! With the perfect balance of rich chocolate flavor and a moist texture, it’s designed specifically for those in elevated locations, making it easier for you to enjoy a classic favorite without sacrificing taste.
What makes this cake special at high altitudes?
Baking at high altitudes presents unique challenges, but it also offers a chance to create something truly delightful. The reduced air pressure affects how your cake rises, which is why understanding the science behind it is essential.
-
Rising Agents: At higher elevations, baked goods tend to rise faster, which can lead to dense or collapsed cakes if not adjusted properly. For this high altitude chocolate hostess sheet cake, we carefully modify the amount of baking powder to ensure that it rises just right.
-
Moisture Retention: The dry air at altitude can draw moisture out of your ingredients, so we make thoughtful choices in our recipe. Incorporating extra eggs and a bit more liquid helps keep the cake moist and tender, preventing that dreaded dryness.
-
Flour Adjustments: The amount of flour can also affect the structure of your cake. We use a bit less flour than you might in a standard recipe, which helps accommodate the quick rise and keeps the cake fluffy.
With these adjustments, the High Altitude Chocolate Hostess Sheet Cake transforms into an ideal treat that’s both delicious and perfectly suited for your elevated kitchen. So let’s dive into the ingredients and techniques that will make baking this cake a breeze!
Key Ingredients for High Altitude Chocolate Hostess Sheet Cake
Creating the perfect high altitude chocolate hostess sheet cake starts with selecting the right ingredients, each playing a crucial role in achieving that delightful balance of texture and flavor.
Cocoa Powder: Opt for a rich Dutch-process cocoa powder; it gives the cake a deep chocolate flavor and helps maintain a moist crumb at high elevations.
Flour: I strongly recommend all-purpose flour for this recipe, as it provides just the right amount of structure. If you’re gluten-sensitive, a 1:1 gluten-free flour blend can also work nicely.
Sugar: Granulated sugar is essential for sweetness and helps the cake rise. I love using a little brown sugar as well to add moisture and depth.
Eggs: Fresh eggs are a must. They not only bind the ingredients but also contribute to the cake’s airy texture.
Baking Powder & Baking Soda: These leavening agents are vital for a proper rise, especially at high altitudes where the air is thinner. Adjusting their amounts can help your cake achieve the ideal height.
Butter: I use unsalted butter for that classic buttery taste without the extra salt. It creates a tender crumb, making each bite melt in your mouth.
With these ingredients in hand, you’re well on your way to crafting a delicious high altitude chocolate hostess sheet cake that will impress everyone at your next gathering!
Why You’ll Love This High Altitude Chocolate Hostess Sheet Cake
Creating a high altitude chocolate hostess sheet cake is not just about baking; it’s about crafting a nostalgic experience that takes you back to those simpler times of childhood treats like ding-dong cakes. This cake brings all the rich, chocolatey goodness you desire, making it an instant favorite for gatherings, weeknight desserts, or even a cozy night in.
One of the standout features of this cake is its dreamy, moist texture and fudgy frosting that genuinely delights. Imagine serving a slice to friends and family and watching their eyes light up with joy—it’s the small moments that make cooking worthwhile.
To top it off, the recipe adapts beautifully to high-altitude conditions, ensuring that even if you’re baking at a thousand feet or more, you’ll still achieve that perfect rise and delectable flavor.
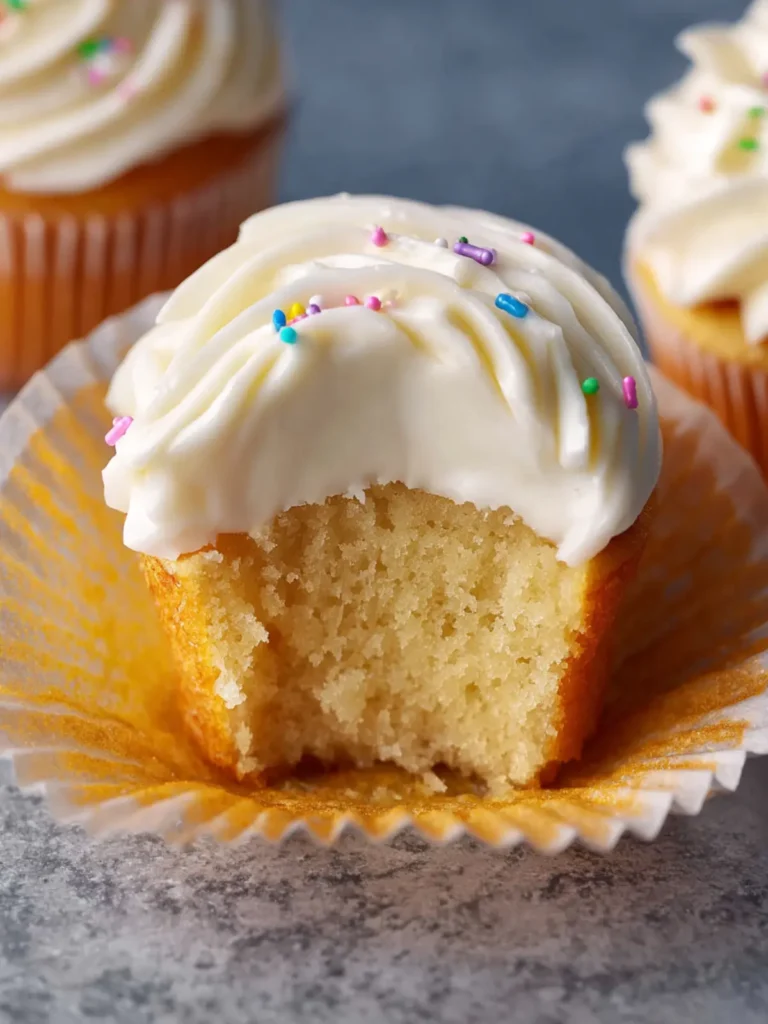
And let’s not forget: this sheet cake is not only easy to make but also versatile. Whether you dress it up with sprinkles or enjoy it plain, every bite is comforting and indulgent.
Each slice is a hug in cake form, reminding you that sometimes, the best things in life come in simple packages. If you love chocolate and are looking to recreate a slice of your childhood, this cake is your ticket to nostalgia.

Tips for Making the Perfect High Altitude Chocolate Hostess Sheet Cake
Creating a delicious high altitude chocolate hostess sheet cake can be an exhilarating adventure, especially when you get the techniques just right. Baking at higher elevations introduces unique challenges, but with a few handy tips, you can ensure your cake rises beautifully and boasts a rich, chocolatey flavor.
Elevation Considerations
When baking at high altitudes, it’s essential to adjust your recipes. At higher elevations, the reduced air pressure can affect baking times and leavening. You might need to decrease the baking powder slightly to avoid an overly risen cake that tumbles over the edges.
Mixing Techniques
Lighter batters need gentler treatment. When combining the ingredients, mix until they are just combined to keep that airy texture. Over-mixing can plot a downfall in the final product, leading to a dense cake.
Oven Temperature Tweaks
Your high altitude chocolate hostess sheet cake may require an increased baking temperature of about 15-25°F. This gives a better crumb structure and helps set the cake before it has a chance to dry out.
Liquid Adjustments
Due to the faster evaporation of liquids at altitude, adding an extra couple of tablespoons of water or milk can keep your cake moist and delicious. This simple tweak can make all the difference between a dry cake and a luscious one.
Enjoy your baking adventure, and don’t forget to celebrate each successful layer of chocolate cake you create!
Time Details for High Altitude Chocolate Hostess Sheet Cake
When crafting your high altitude chocolate hostess sheet cake, understanding the timing is essential to achieve that perfect melt-in-your-mouth texture. Here’s a breakdown to keep your baking on track.
Preparation time
To get started, set aside about 20 minutes for preparation. This time includes gathering your ingredients, measuring them out, and mixing the batter—a crucial part of making your cake light and airy.
Baking time
The baking process will require you to be patient for 30-35 minutes. As your cake rises in the oven, make sure to check for that delightful springy touch, which indicates it’s ready to come out.
Total time
In all, you’re looking at approximately 50-55 minutes from start to finish. In just under an hour, you’ll be indulging in this rich, chocolatey slice of heaven, perfect for sharing!

Nutritional Information for High Altitude Chocolate Hostess Sheet Cake
When whipping up a batch of high altitude chocolate hostess sheet cake, it’s not just about the scrumptious flavors and delightful textures; understanding the nutritional content adds an extra layer of appreciation to this delightful dessert.
Calories
One serving of this high altitude chocolate hostess sheet cake contains approximately 250 calories. It’s rich enough to satisfy without overwhelming your daily intake.
Protein
Each slice packs around 3 grams of protein. While it might not be a significant source of protein, pairing it with a glass of milk can balance your snack.
Sodium
With approximately 150 milligrams of sodium per serving, this cake fits comfortably into a moderate diet. Keeping an eye on sodium levels is beneficial, especially for those monitoring their intake.
Creating this cake is easy and rewarding, combining the joy of baking with a treat that’s just right for sharing or enjoying solo.
FAQs about High Altitude Chocolate Hostess Sheet Cake
When diving into the world of baking, particularly with a delightful creation like high altitude chocolate hostess sheet cake, it’s natural to have questions. Your curiosity is the first step toward mastering this decadent treat, ensuring it’s perfect for any gathering or cozy night in.
How do I adjust the recipe for different altitudes?
Baking at higher elevations can indeed affect the outcome of your cake. For your high altitude chocolate hostess sheet cake, consider the following adjustments:
- Reduce Sugar: Decrease sugar by about 1 to 3 tablespoons to prevent excessive rising.
- Increase Liquid: Add 2-4 tablespoons of liquid, such as milk or water, to keep the cake moist.
- Leavening Agents: Lower the baking powder slightly. Try reducing it by about 1/8 to 1/4 teaspoon.
Always remember to keep a close eye on the baking time as it may vary!
Can I use different types of cocoa powder?
Absolutely! While I favor unsweetened cocoa powder for an intense flavor, you can also experiment with Dutch-processed cocoa for a milder taste or even use raw cacao for a richer chocolate experience. Just remember that the type of cocoa you choose can influence the cake’s texture and flavor profile.
What is the best way to store the cake?
To keep your high altitude chocolate hostess sheet cake fresh and delicious, store it in an airtight container at room temperature for up to three days. For longer storage, you can refrigerate it, but be sure to let it come back to room temperature before serving to regain its fudgy texture. If you need to store it for more than a week, wrap it tightly in plastic wrap and freeze it for up to three months. Enjoy your baking adventure!
Conclusion on High Altitude Chocolate Hostess Sheet Cake
Creating a high altitude chocolate hostess sheet cake is more than just following a recipe; it’s about crafting a delightful experience that elevates your baking game. The rich, chocolatey flavor paired with a moist texture truly shines in high-altitude conditions. As you share this cake with friends and family, it becomes a centerpiece of joyous gatherings, leaving a lasting impression.
Remember, each bite should transport you to a world of chocolate bliss, feeling luxurious without fuss. So, gather your ingredients, embrace the joy of baking, and let this cake be the star of your next celebration!
Print
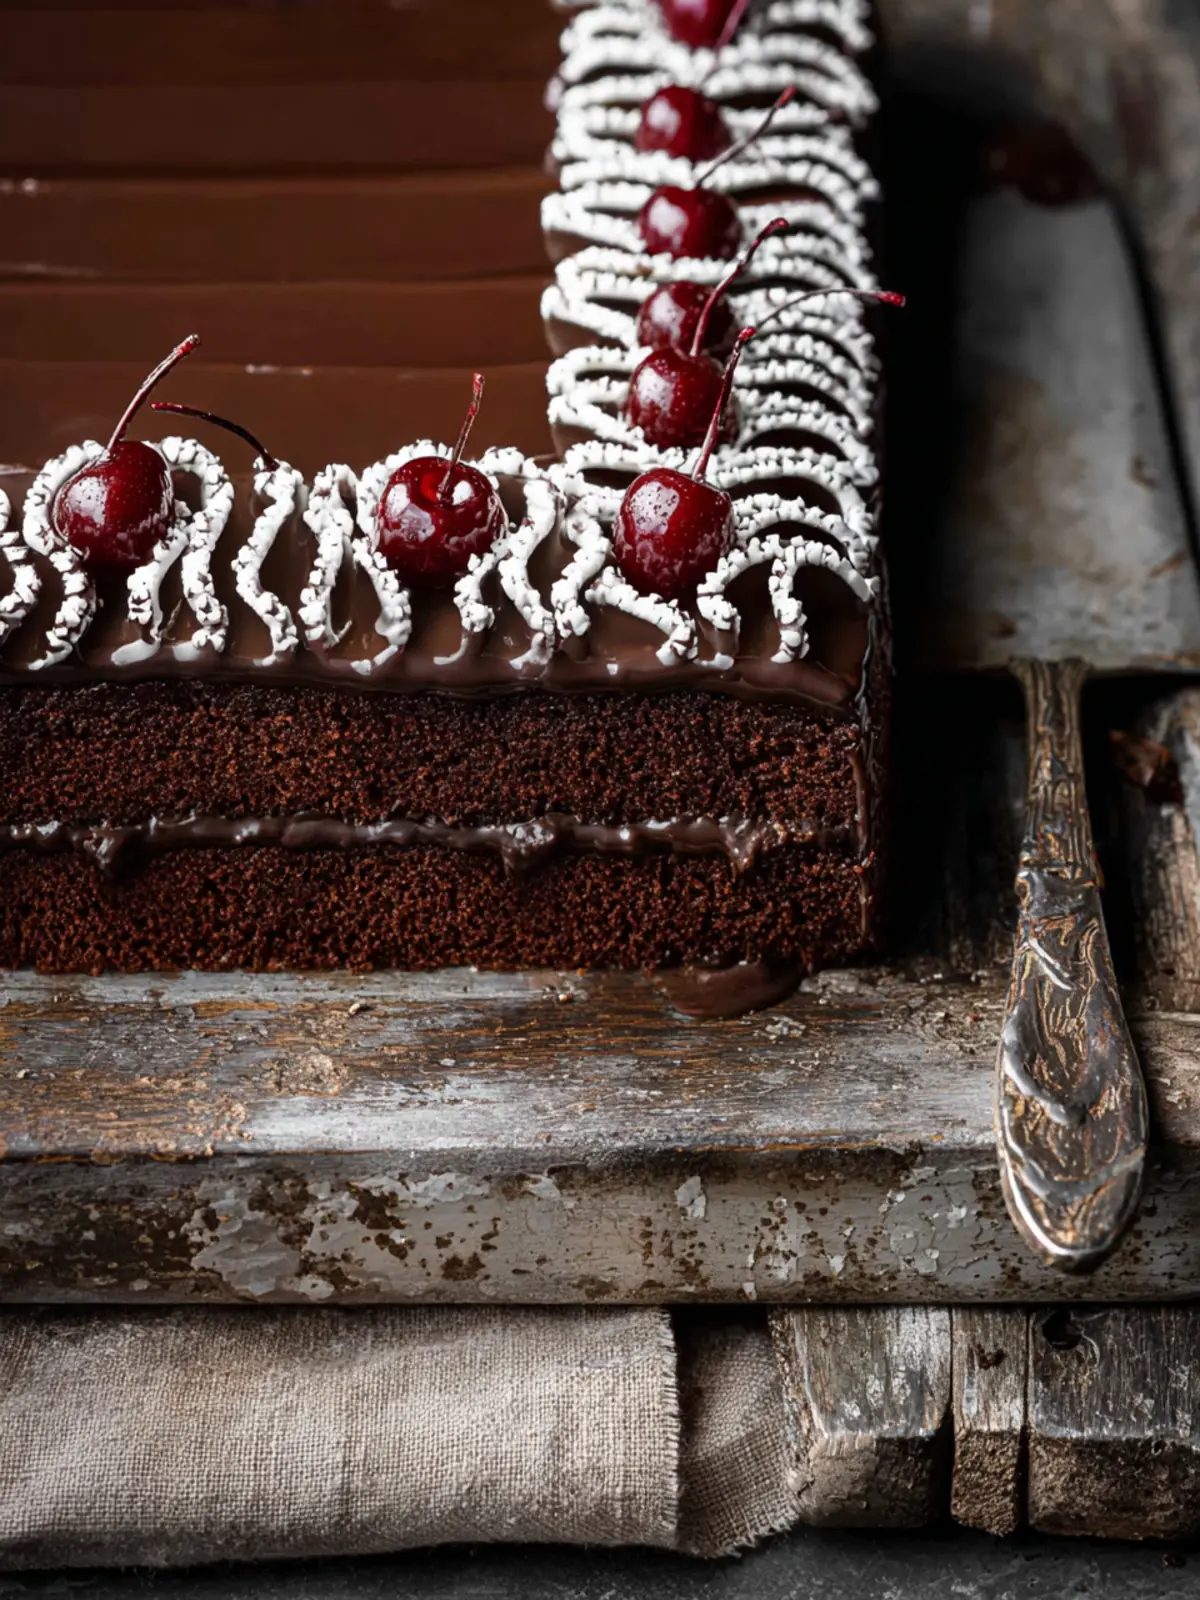
Delicious Chocolate Cake
- Total Time: 55 minutes
- Yield: 12 servings 1x
- Diet: Vegetarian
Description
This chocolate cake is rich and decadent, perfect for any celebration.
Ingredients
Scale
- 2 cups all-purpose flour (fluffed, spooned and leveled)
- 1 3/4 cups granulated sugar
- 3/4 cup unsweetened Dutch-processed cocoa powder
- 2 tbsp instant espresso powder or instant coffee
- 3/4 tsp baking soda
- 1/2 tsp baking powder
- 1 tsp coarse Kosher salt
- 4 large eggs (room temperature)
- 1 cup full fat sour cream (room temperature)
- 1 cup whole milk (room temperature)
- 1 cup vegetable oil
- 1 tbsp vanilla extract
- 1/2 cup unsalted butter (softened to room temperature)
- 1/2 cup vegetable shortening
- 2 1/2 cups powdered sugar
- 1 tsp meringue powder (optional)
- 1 1/2 tsp vanilla extract
- 1/3 cup cold heavy whipping cream
- 1 tsp light corn syrup
- 8 oz semi sweet or dark chocolate, chopped (or chocolate chips)
- 8 oz heavy whipping cream
Instructions
- Preheat the oven to 350 F and position a rack in the center of the oven. Prep two 9×13 inch baking pans by spraying them with non-stick baking spray. Line the pans with a sheet of parchment baking paper to ensure the cakes come out cleanly.
- In a large bowl, sift together the flour, sugar, cocoa powder, espresso powder, baking soda, baking powder, and salt.
- In a separate bowl, whisk together the eggs, sour cream, milk, oil, and vanilla until well combined. Add the wet ingredients to the dry and whisk the batter just until combined.
- Divide the batter between the pans. Bake the cakes for about 22-25 minutes, until the center springs back when lightly touched, and a toothpick or cake tester inserted in the center comes out clean.
- Set the pans on a cooling rack and cool completely before assembling the cake.
- In the bowl of your stand mixer fitted with the paddle attachment, beat the softened butter with the shortening for one minute until smooth.
- With the mixer on low, add the powdered sugar by spoonfuls and the meringue powder, mixing until combined. Add the vanilla and the heavy whipping cream.
- Whip the buttercream on medium-high speed for 4-5 minutes, stopping to scrape down the bowl several times, until light and fluffy. Turn the speed down to low and mix for one more minute.
- Remove 1/3 cup of the buttercream to another bowl and set it aside to use for the curly icing on top. Stir in the corn syrup, which helps to make the buttercream flow more smoothly through a small piping tip.
- When you’re ready to assemble your cake, finely chop the chocolate (no bigger than 1/4 inch pieces) and scrape the chocolate into a bowl. You can also use semi-sweet chocolate chips instead of chopping a bar of chocolate.
- In a saucepan, heat the cream over medium heat just until hot and beginning to simmer around the edges.
- Pour the hot cream over the chocolate, let sit for 3 minutes, then stir with a spatula until it smooths out into a creamy ganache.
- Let the ganache cool at room temperature for five minutes until it’s thickened slightly.
- You can assemble your cake on a baking sheet, cutting board, or any large serving plate. Begin by lifting one of the cakes out of the pan by the parchment paper. Quickly, invert one of the cake layers onto the baking sheet, then peel off the parchment paper.
- Spread the buttercream over the cake, all the way to the edges, making it as smooth and even as possible.
- Quickly invert the second layer of cake over the buttercream and peel the parchment paper off the cake.
- If needed, trim any uneven edges around the sides of the cake and smooth out the buttercream around the sides.
- Pour 1/3 of the warm ganache on top of the cake. Use an offset icing spatula to spread the ganache out into a very thin layer on top of the cake.
- Repeat two more times until you’ve covered the top and sides of the cake with a smooth, shiny layer of ganache. As the ganache cools on the cake, it will firm up to a soft, fudge-like consistency.
- Fit a 12-inch disposable piping bag with a coupler and a small round piping tip (such as #3). Fill with the reserved buttercream.
- Pipe the icing in curly rows across the cake. Be sure to see the video in the recipe card to watch me decorate this cake!
Notes
- If you don’t have two 9×13 inch baking pans, you can use a rimmed 13×18 inch baking sheet instead (you must also line the baking sheet with parchment paper). Then cut the baked cake in half to stack and assemble the two halves. I have not tested the baking time for this option, though.
- Prep Time: 30 minutes
- Cook Time: 25 minutes
- Category: Dessert
- Method: Baking
- Cuisine: American
Nutrition
- Serving Size: 1 slice
- Calories: 450
- Sugar: 40g
- Sodium: 350mg
- Fat: 25g
- Saturated Fat: 10g
- Unsaturated Fat: 12g
- Trans Fat: 0g
- Carbohydrates: 50g
- Fiber: 2g
- Protein: 5g
- Cholesterol: 80mg